Haircut with Clippers

How to cut men’s hair with hair clippers
Between work, family and a social life, scheduling an appointment to see your barber can often fall to the wayside. Add in the fact that having to go so often to maintain your look can quickly become very expensive, and the idea of learning how to cut your own hair starts looking that much better! That’s why we put together this guide with everything you need to know about how to cut your own hair with clippers at home. Because who said you can’t continue to look good while saving your precious time and hard earned money?
What you need to cut your own hair with clippers.
- Hair Clippers + Comb Attachments
- Comb
- Mirror
- Hair Scissors
Hair length numbers 101
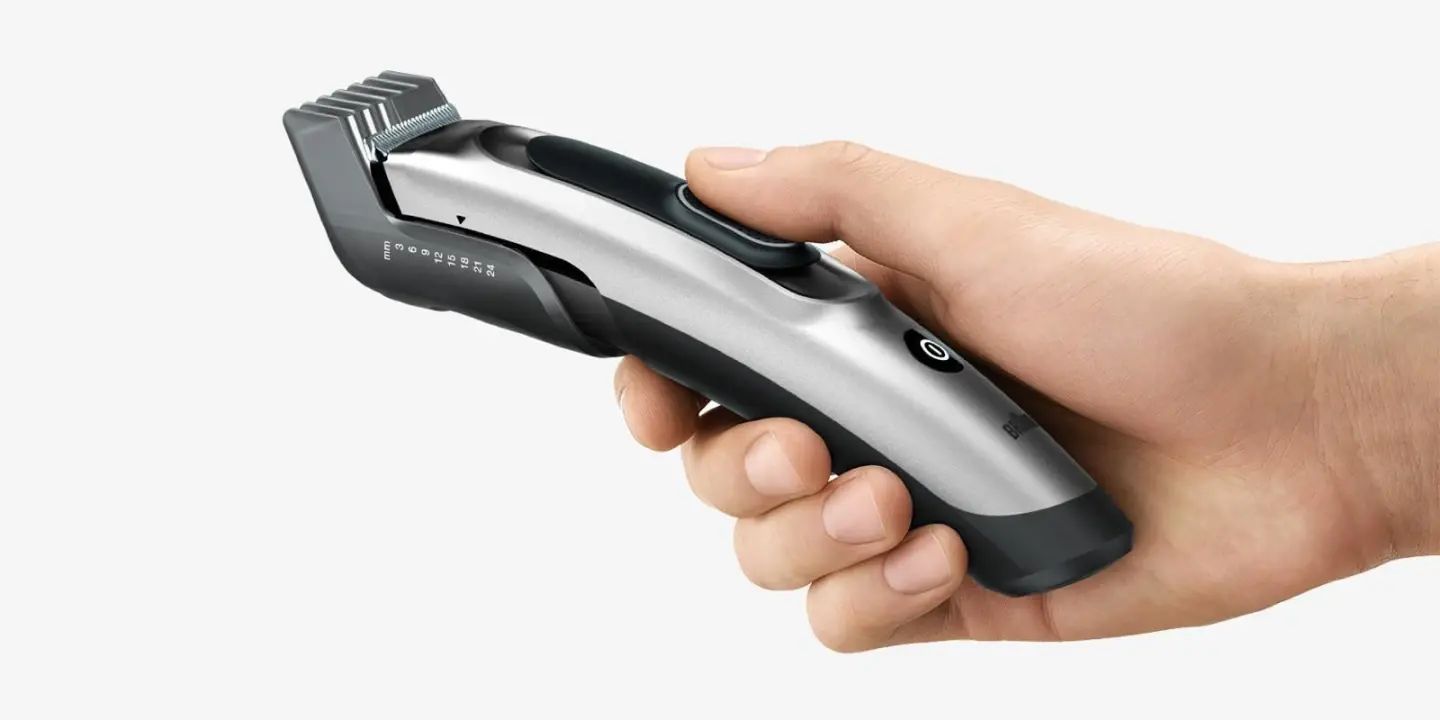
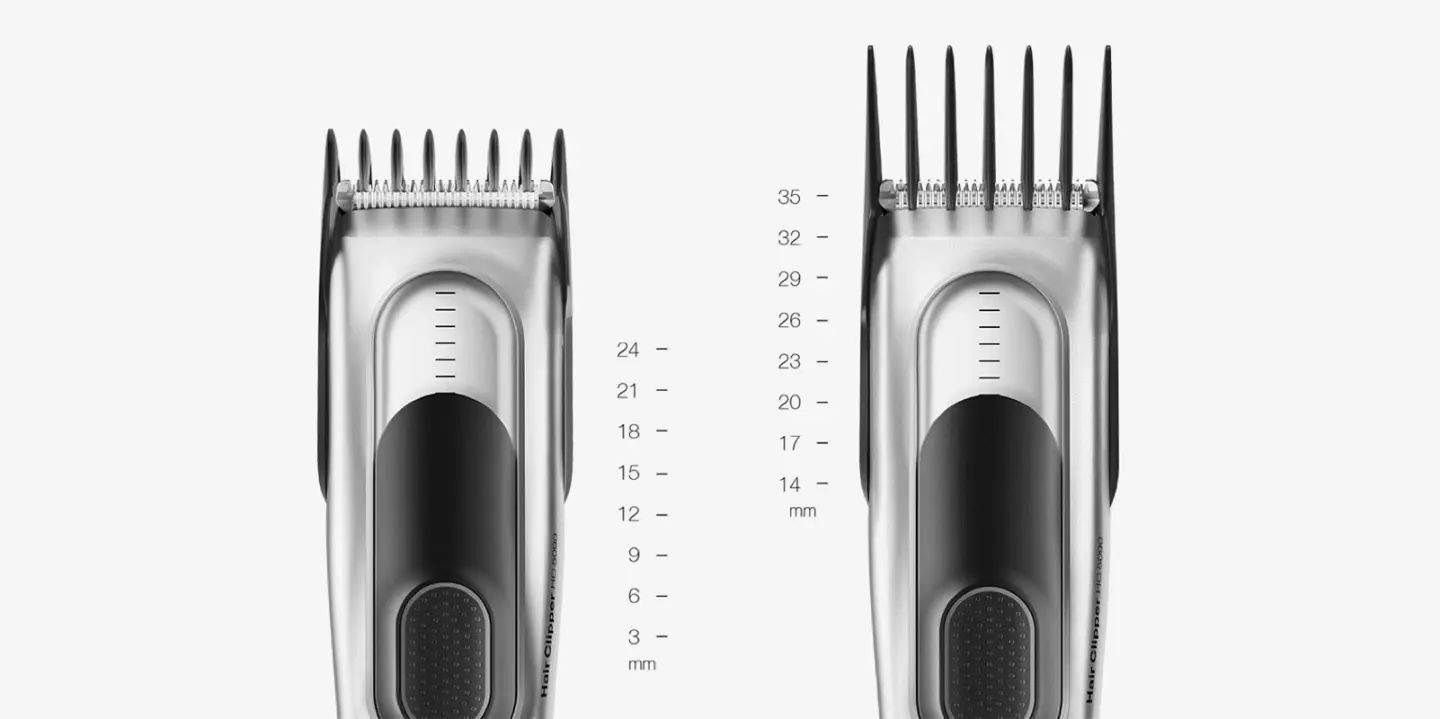
Before we jump into how to cut your own hair with clippers with our step-by-step guide, it is important for us to break down the hair length numbers in detail. Majority of hair clipper sets provide only 8 different lengths with an overwhelming amount of guards or combs. At Braun, our Series 7 Hair Clipper gives you 17 different length options using only two adjustable guiding combs. The small comb covers the range from 3-24mm/.1-.94 inch while the larger comb covers the range from 14-35mm/.55-1.3 inch. Each combs size determines the length of the hair. Here is a simple guide to help illustrate the amount of hair each guard will leave on the scalp.
| Clipper Size | Length (mm) | Length (inches) |
|---|---|---|
| #1 | 3mm | 0.1 inch |
| #2 | 6mm | 0.24 inches |
| #3 | 9mm | 0.35 inches |
| #4 | 12mm | .47 inch |
| #5 | 14mm | .55 inch |
| #6 | 15mm | .59 inch |
| #7 | 17mm | .66 inch |
| #8 | 18mm | .70 inch |
| #9 | 20mm | .78 inch |
| #10 | 21mm | .82 inch |
| #11 | 23mm | .90 inch |
| #12 | 24mm | .94 inch |
| #13 | 26mm | 1.02 inch |
| #14 | 29mm | 1.14 inch |
| #15 | 32mm | 1.25 inch |
| #16 | 35mm | 1.3 inch |
And to keep things easy, our Series 7 Hair Clipper also comes with a Memory SafetyLock that remembers and locks your last used length setting. This way you get the same length with each cut.

Step by step instructions on how to cut your own hair with clipperss
Step 1: Wash and condition your hair
Clean hair will make it easier cutting your own hair as greasy hair tends to stick together and get caught in the hair clippers. Be sure to comb your hair and that it is completely dried before cutting as wet hair doesn’t lay the same as dry hair, and can result in a different look than what you were going for.
Step 2: Cut your hair in a comfortable place
Be sure that you have access to a mirror and water prior to cutting your own hair with hair clippers. From there, section your hair to how you normally wear it or would like to wear it.
Step 3: Start cutting
After choosing the hairstyle you would like, set your hair clippers to the corresponding guard (usually a lower number) that you need to start with. From there, begin cutting the sides and back of your hair. With the blade's edge, trim from the bottom of the sides to the top. Tilt the clipper blade at an angle as you work to create an even fade with the rest of your hair. Repeat this process on the other side of your head before moving to the back, making sure each side is even as you go along.
Step 4: Trim the back of your hair
Once the sides of your hair are complete, trim the back of your head, moving from the bottom to the top as you did with the sides. It takes time to learn how to cut the back of your own hair so be sure to go slow. To make sure you're cutting evenly, hold a mirror behind you so you can check your progress as you cut. Use the same guard length on the back and sides of your hair unless your hairstyle calls for something different.
Step 5: Give yourself a fade
Next, go over the lower half of your hair with your clippers on a lower guard than what you started with to fade out your hair. Work slowly while using your hair clippers to ensure as even of a fade as possible. Be sure to lift your hair as you approach your temples and earlobes.

Step 6: Use scissors or a comb to help
Using hair scissors, begin trimming the top of your hair in sections. Household scissors do not suffice as they are not sharp enough to cut your hair. Use your fingers or a comb to raise the hair from the top of your head so that your hair is parallel to the front of your hairline. Be sure to work slowly and carefully in 1/4 inches/6 millimeters sections. As you trim, pull a little of the previously cut section into the new section as a guideline. Always start with conservative cuts, working your way to the length you desire.
Step 7: Refine your hair
Once your cut is complete, use a mirror to check your sides and the back of your head to make sure everything is even. Comb your hair straight out and grab a horizontal section from about the same point on each side of your head to see if the sections are the same length. A good rule of thumb is to always cut a little less to start and touch up more later.
Step 8: Cut your sideburns
Using your hair clippers, cut your sideburns beginning from the bottom to the top to your desired length. Use the depression below your cheekbone to determine where the bottom should be. Place your fingers below each sideburn to make sure they are the same length.
Step 9: Make final touches on your haircut
With your hair clippers, taper your nape, or neckline. Start with a grazing cut at the top of the neckline, then cut progressively closer as you work toward the nape. Once you are finished with the cut, rinse your head to remove any loose strays that are caught in your hair or on your neck and face. After towel drying, style as desired.
Final tips for cutting your own hair
- Go slow! It will take time to get use to cutting your own hair and familiarizing yourself with the grooves of your head.
- Learn to use your non-dominant hand to cut the opposite sides of your head.
- Always cut against the way your hair grows and lays.
- Stop occasionally while cutting to ensure there is no hair caught in the clippers as this could cause irritation